# Managing end-users accounts
End-users are the users who consume the content that is created and managed with a Strapi application and displayed on front-end applications (e.g. websites, mobile applications, connected devices etc.). Unlike the administrators, they do not have access to the admin panel. End-users are managed with the Users & Permissions plugin (see Users & Permissions plugin). This plugin is however not entirely managed and configured from one same place of the admin panel: end-users roles and permissions are managed in the Settings interface (see Configuring end-users roles), but end-users accounts are managed from the Content Manager.
With the Users & Permissions plugin, the end-users and their account information are managed as a content-type. When the plugin is installed on a Strapi application, 3 collection types are automatically created (see Users & Permissions plugin), including "User" which is the only one available directly in the Content Manager.
Registering new end-users in a front-end application with the Users & Permissions plugin consists in adding a new entry to the User collection-type (see Introduction to the Content Mananger for more information about the Content Manager).
✏️ NOTE
If end-users can register themselves on your front-end application (see Managing Users & Permissions plugin settings), a new entry will automatically be created and the fields of that entry will be filled up with the information indicated by the end-user. All fields can however be edited by an administrator of the Strapi application.
To create a new end-user account:
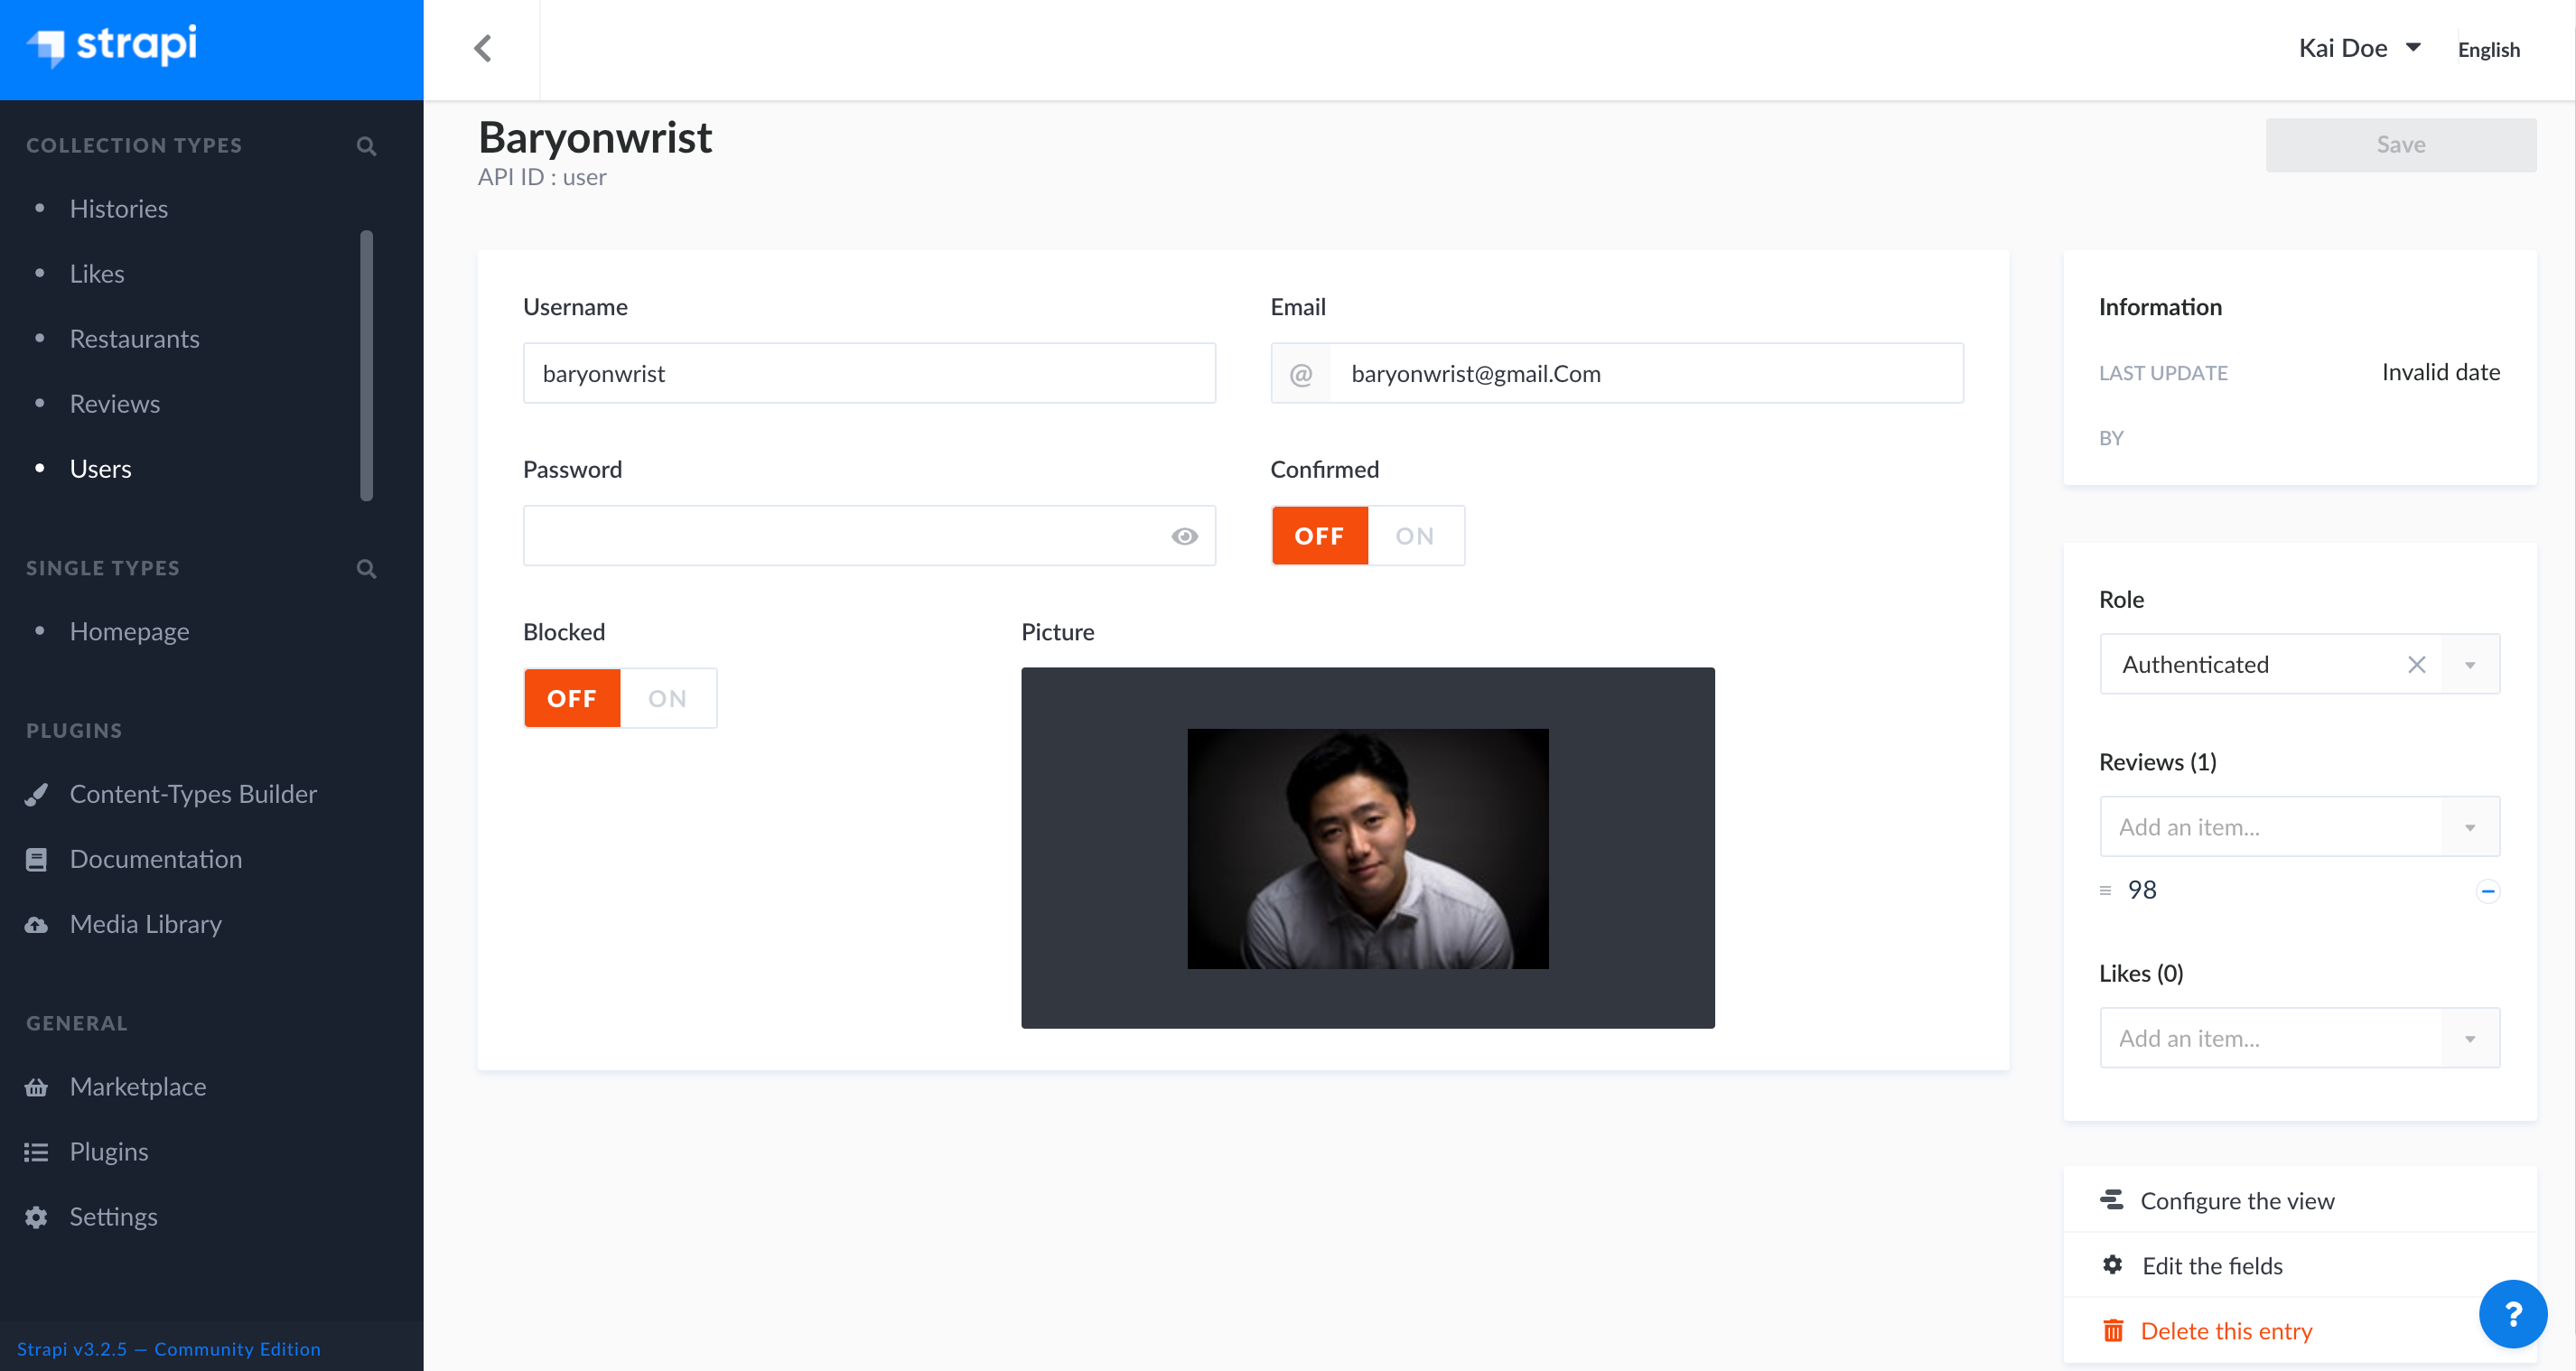
- Go to the User collection type in the Content Manager.
- Click on the Add New user button in the top right corner.
- Fill in the default fields of the entry. Additional fields added specifically for your Strapi application by your administrators may be displayed as well.
| Field | Instructions |
|---|---|
| Username | Write the username of the end-user. |
| Write the complete email address of the end-user in the textbox. | |
| Password | (optional) Write a new password in the textbox. You can click on the eye icon for the password to be shown. |
| Confirmed | (optional) Click ON for the end-user account to be confirmed. |
| Blocked | (optional) Click ON to block the account of the end-user, to prevent them to access content. |
- In the Relation box, indicate the role that should be granted to the new end-user. If this step is skipped, the end-user will be attributed the role set as default (see Managing Users & Permissions plugin settings).
- Click on the Save button.